You love big batches of potato soup, but freezing it poorly leaves grainy texture or watery bowls. If you want to freeze potato soup the right way so lunches and weeknight dinners are stress-free, this guide walks you through every step.
The secret tools? A heavy Dutch oven makes even cooking simple and an immersion blender smooths the soup before freezing. Both help you control texture so your soup reheats like it was just made.
Read on and you'll learn how to prep, cool, portion, freeze, and reheat—plus smart product picks to save space and time when you freeze potato soup.
Preparing Your Ingredients for Freezer-Friendly Soup
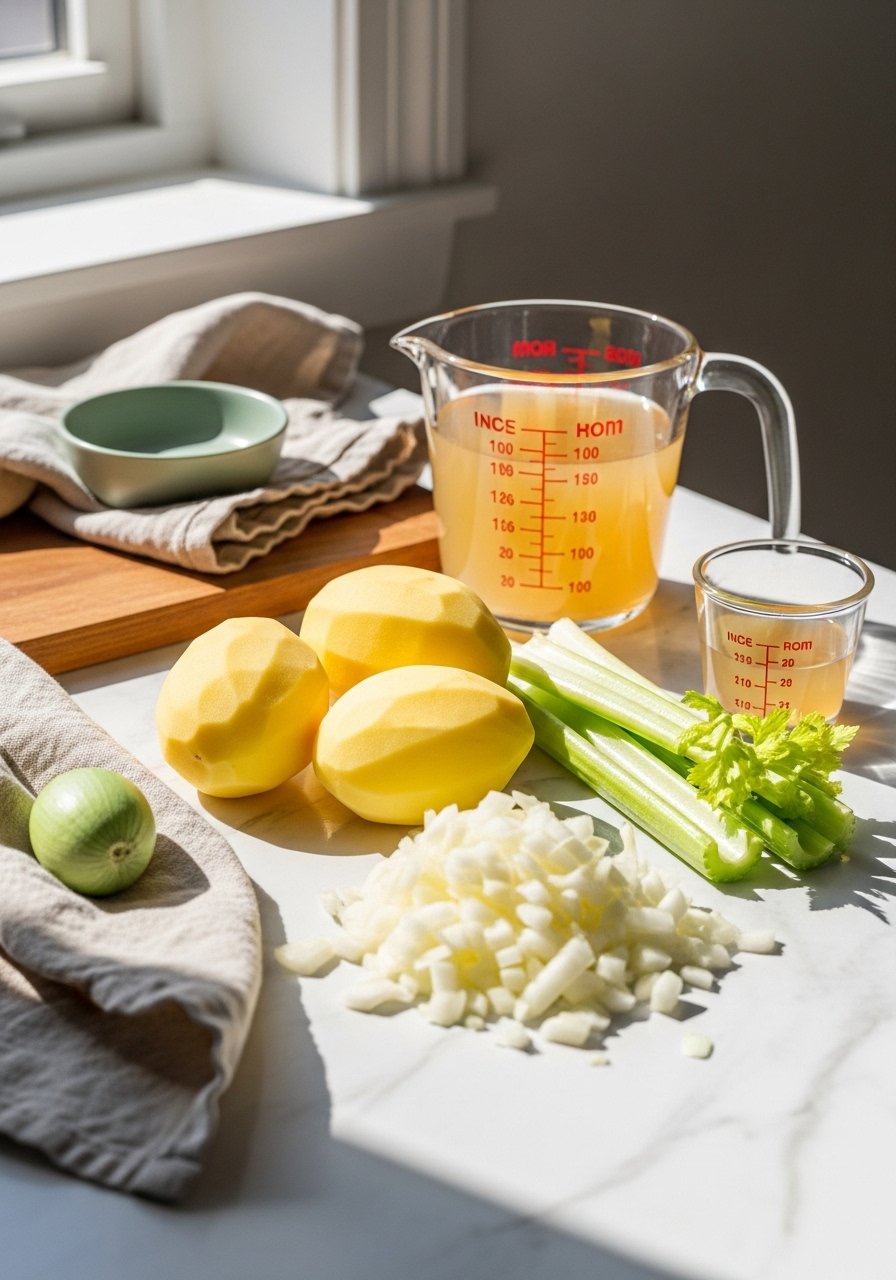
Start with the right potato and prep technique. Waxy potatoes (like Yukon Gold) hold together better than starchy russets after freezing, so use a mix if you like a chunkier soup.
- Chop vegetables evenly for consistent cook times; a sharp chef's knife and a sturdy bamboo cutting board speed this up.
- Use 4–6 medium potatoes per 6 servings, about 6 cups diced.
- Keep broth slightly concentrated (use 5–10% less liquid) so the soup isn’t watery after thawing.
Quick tip: blanching potato pieces 3 minutes before simmering reduces starch release and helps texture when you freeze potato soup.
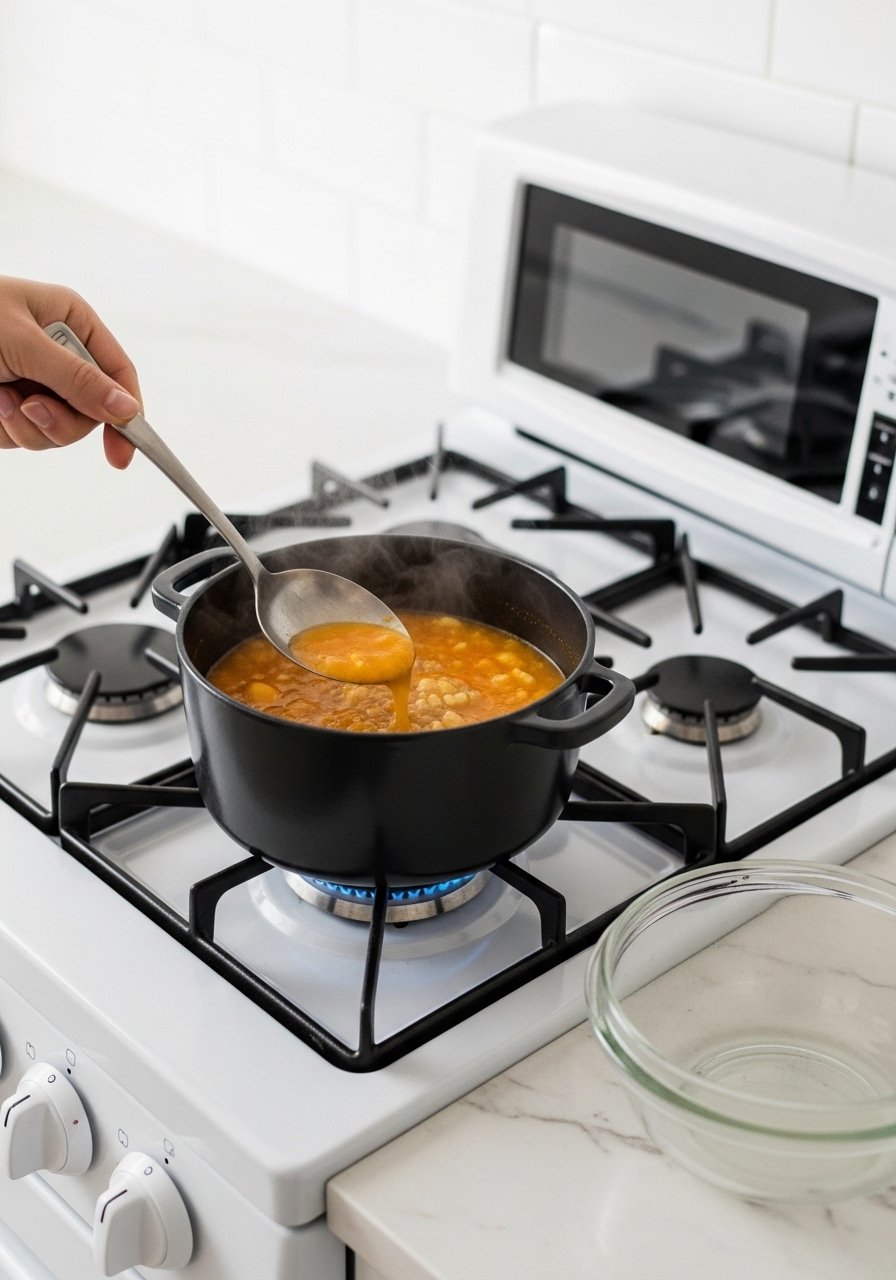
One-Pot Cooking and Getting the Right Texture
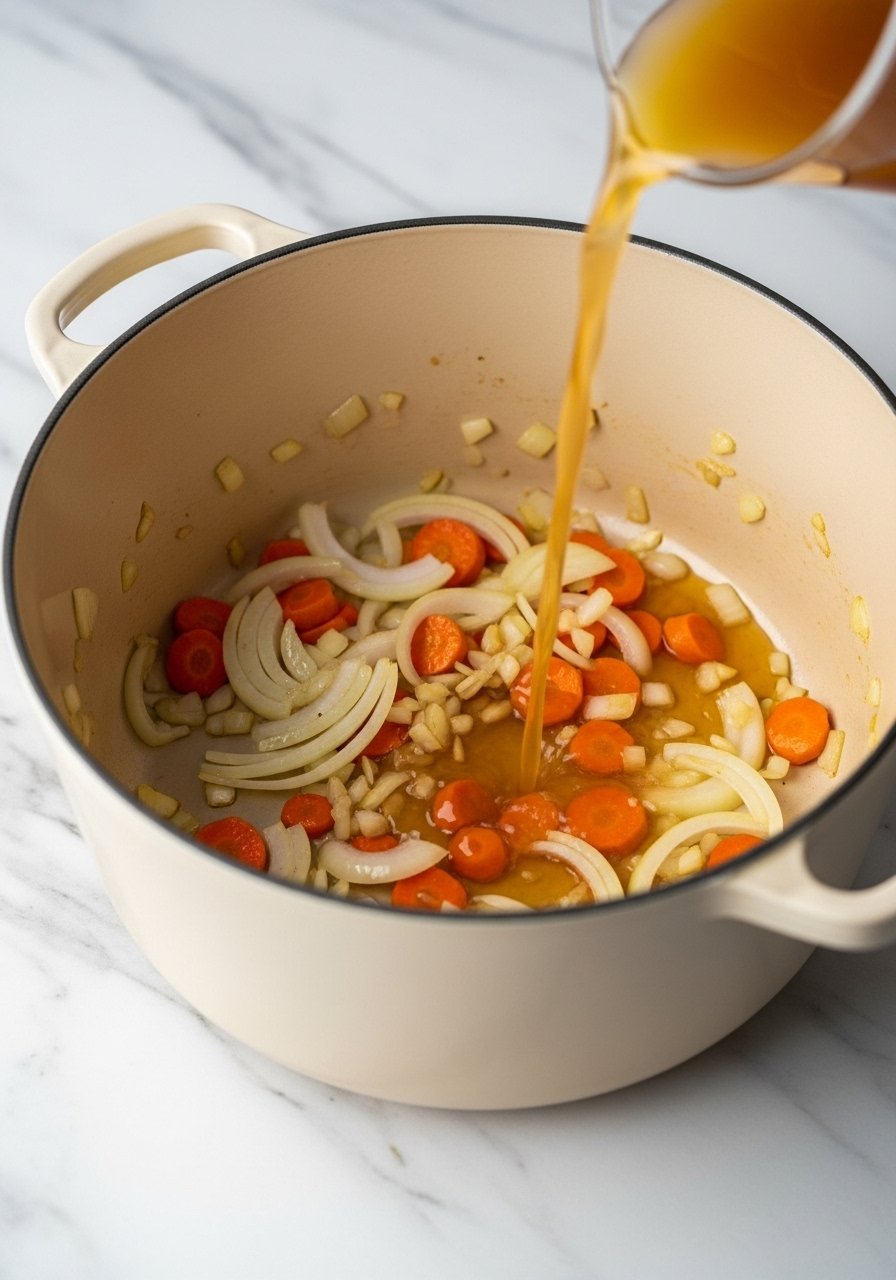
Cook your soup like a one-pot meal for easy cleanup and consistent flavor. Sauté aromatics, add potatoes and broth, simmer until tender.
- Simmer 15–20 minutes until potatoes are fork-tender.
- For a creamy base, pulse with an immersion blender to smooth 30–60% of the soup—leave some chunks for texture.
- Use a long-handled soup ladle and a silicone spatula to scrape down the pot and keep everything even.
Warning: avoid adding dairy (cream or milk) before freezing; it can separate. Instead, freeze a dairy-free base and stir in ½–1 cup cream or milk per 6 cups of thawed soup when reheating.
Cooling, Portioning, and Freezing the Right Way
Fast, safe cooling and smart packaging will make the biggest difference when you freeze potato soup.
- Cool quickly by dividing into shallow bowls and placing in the fridge for 30–60 minutes.
- Portion into meal-sized servings: 2-cup portions reheat fast and store well.
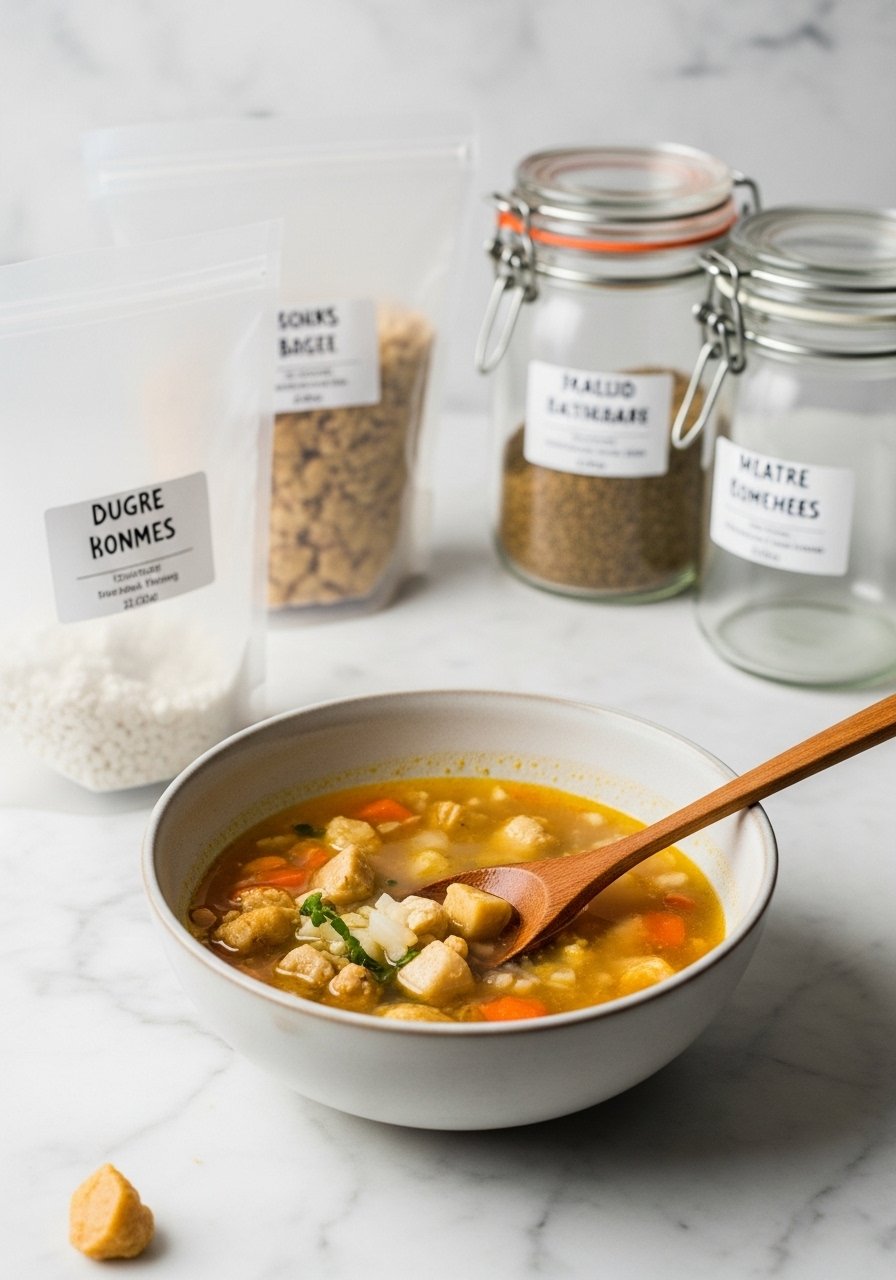
- Freeze flat in freezer bags to save space, or use airtight glass storage containers for microwave reheating.
- Label each package with date and contents using freezer labels.
Numbered steps:
- Cool to room temp (under 2 hours).
- Spoon into containers or bag, leaving 1 inch headspace.
- Lay bags flat on a baking sheet and freeze 2–3 hours, then stack.
Pro tip: freeze flat for faster thawing and better shelf organization.
Thawing, Reheating, and Serving So It Tastes Fresh
Thaw with purpose so your soup keeps its texture and safety.
- Thaw overnight in the fridge for best results, or place flat bags in cold water for 30–60 minutes to speed things up.
- Reheat gently on the stove in a pot over medium-low heat, stirring often. Aim for 165°F; check with an instant-read thermometer.
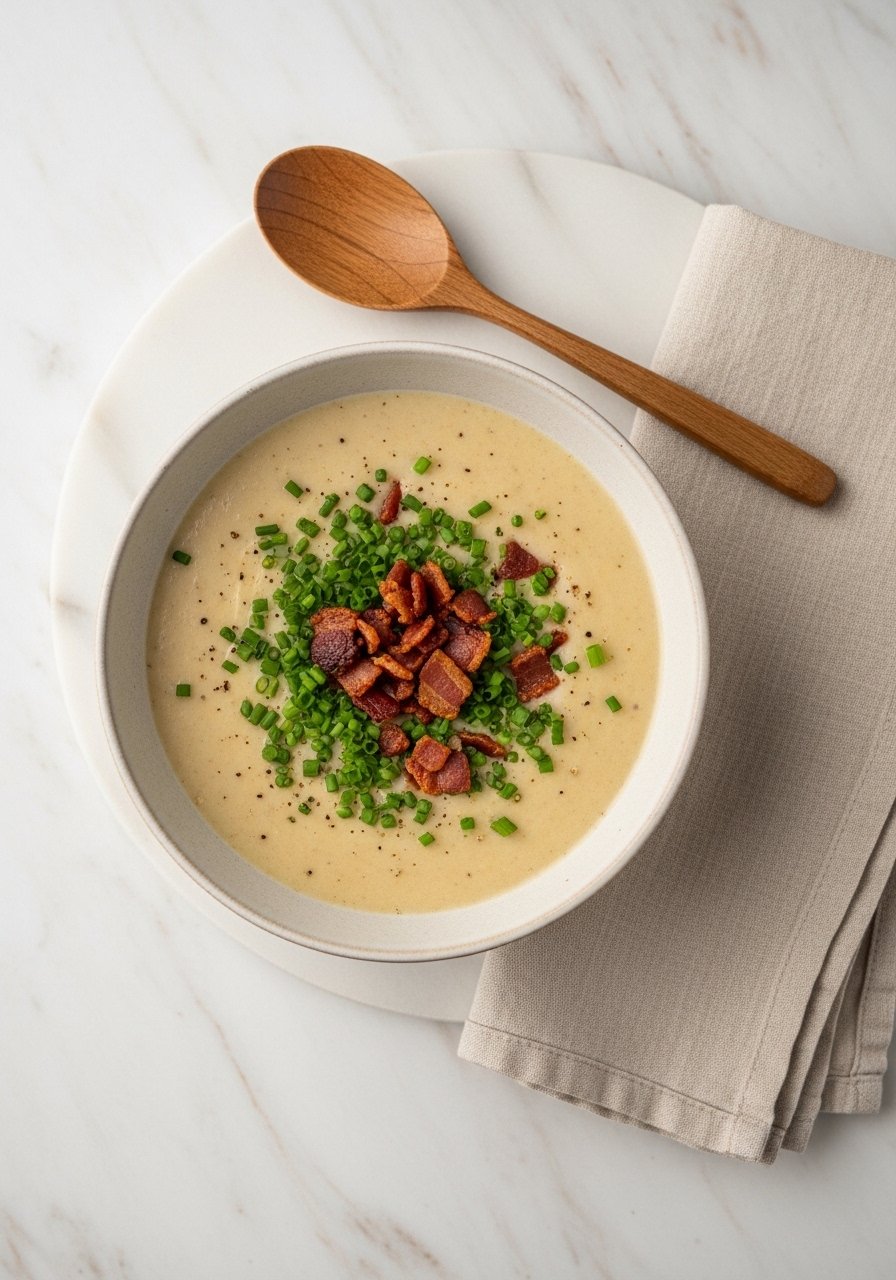
- Once hot, stir in cream or milk, or add crisp toppings like bacon, chives, or cheddar.
Microwave reheat: transfer to a microwave-safe glass container and heat in 1–2 minute bursts, stirring between.
Common mistakes:
- Reheating too fast makes a grainy texture—heat low and slow.
- Refreezing thawed soup reduces quality; only refreeze if you brought it to temperature and haven’t left it out.
You can reliably freeze potato soup and still serve silky, comforting bowls all week. Save this guide, try the flat-freeze method, and pick one storage option that fits your routine—airtight glass containers are a solid all-around pick.
Pin this guide for your next meal-prep day! Which thawing method will you try first?