You know those store tubs that taste flat and leave you wishing for more texture? Making tuna salad from scratch fixes that—fresh flavor, the exact creaminess you want, and control over salt and crunch. You’ll learn how to make creamy tuna salad from scratch that’s bright, balanced, and perfect for sandwiches, salads, or meal prep.
The trick is simple: proper draining, smart mixing, and a tiny tool to get the texture you want. A mini food processor gives super-creamy results in seconds, and airtight glass storage containers keep it fresh for lunches all week.
Follow these steps and you’ll have a high-protein, 30-minute recipe that scales easily. Expect exact measurements, troubleshooting tips, and smart gear that saves time.
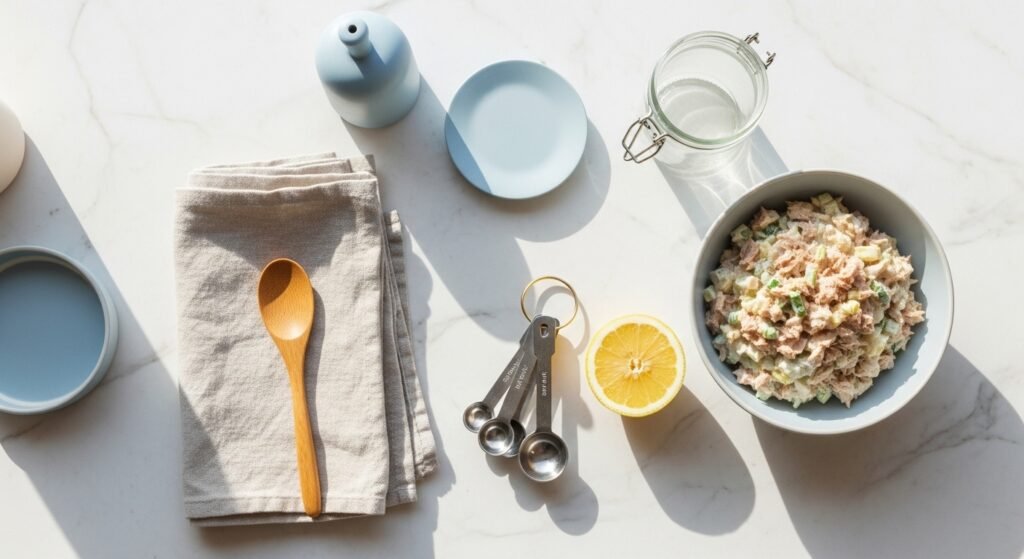
Preparing Your Ingredients (30-minute, meal prep friendly)
Start by gathering and prepping so the mixing step is fast.
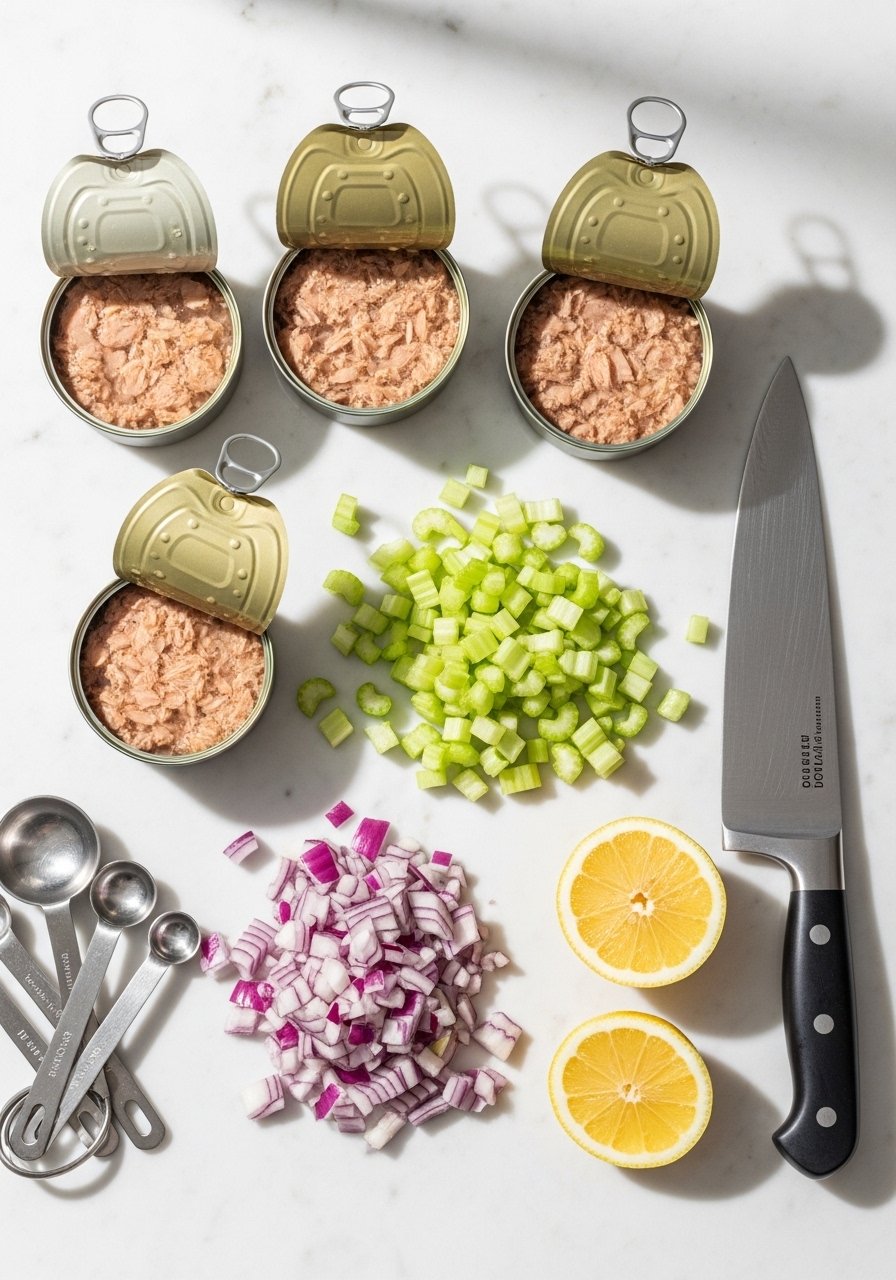
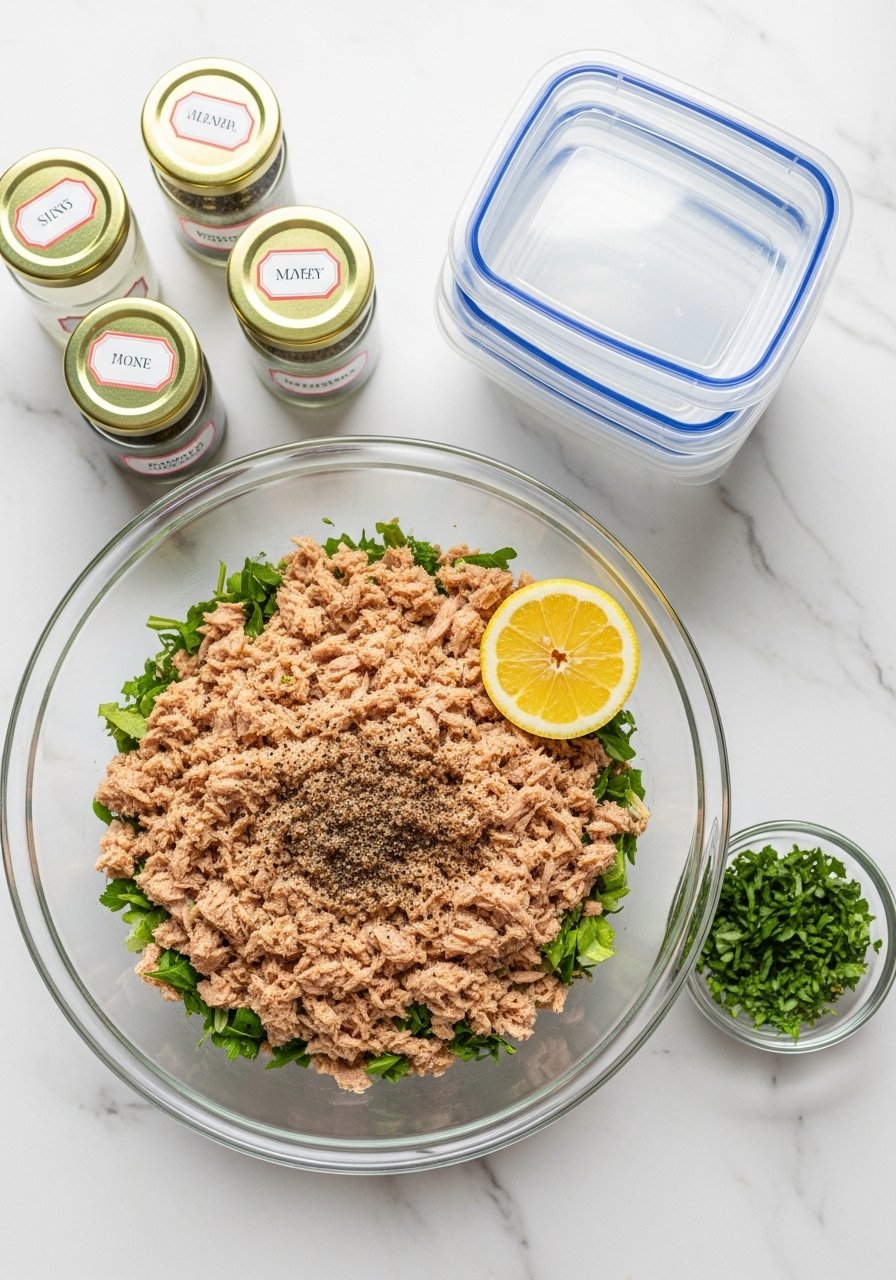
- Drain 2 cans (5–6 oz each) of tuna and flake with a fork.
- Chop 1/2 cup celery finely and 2 tbsp red onion for bite.
- Measure 1/3 cup mayonnaise and 1–2 tbsp plain Greek yogurt.
Helpful products:
- Use a bamboo cutting board for a stable surface.
- A sharp chef knife makes quick work of celery and onion.
- Keep measuring consistent with a set of measuring spoons.
Tip: Pat tuna dry with a paper towel if it looks wet. Overly wet tuna dilutes flavor and makes the salad soggy.
The Mixing Technique for Creamiest Texture (easy, high-protein)
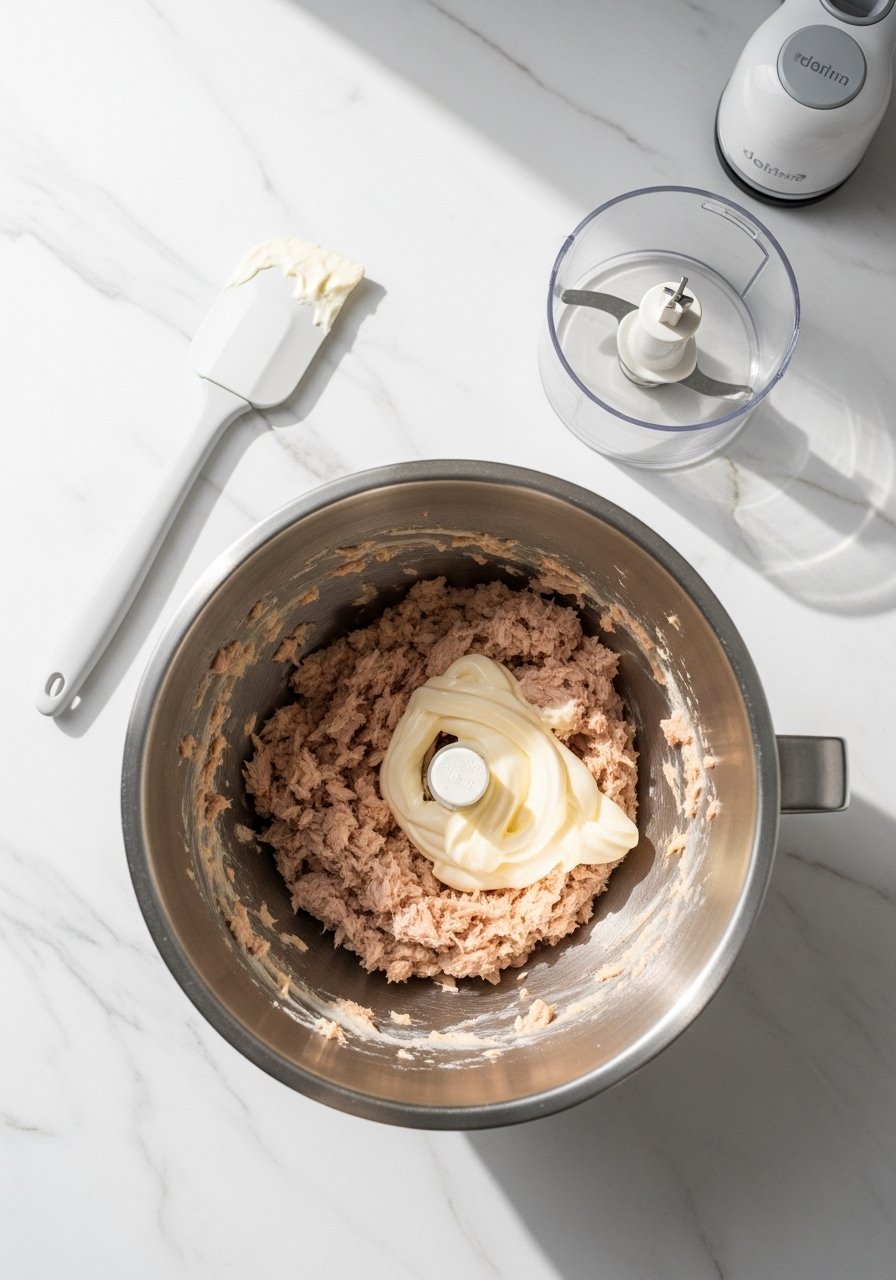
For a creamy, well-emulsified tuna salad, follow this order.
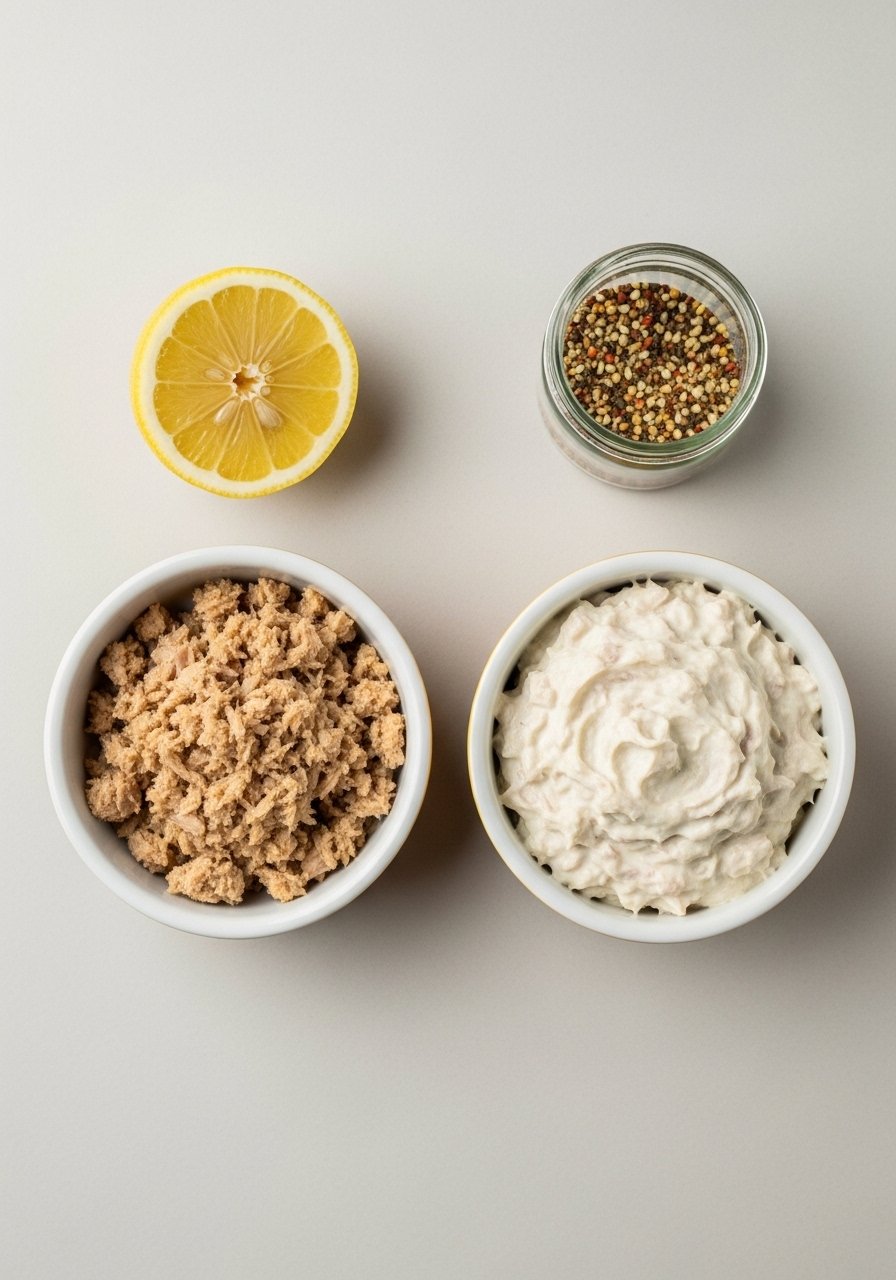
- In a bowl, combine tuna, mayonnaise, Greek yogurt, 1 tbsp lemon juice, and 1 tsp Dijon mustard.
- If you want extra-smooth creaminess, pulse the mixture in a mini food processor for 3–5 quick pulses.
- Fold in celery, onion, and 2 tbsp chopped pickle or capers for acidity using a silicone spatula.
Why this works:
- Pulse blending breaks tuna into fine flakes and emulsifies the dressing.
- Folding keeps chunks intact so you still get texture.
If you don't have a processor, mash firmly with a fork and whisk the dressing first in a stainless mixing bowl to combine oils and water-based ingredients.
Getting the Perfect Texture and Troubleshooting (easy, one-bowl)
Texture targets:
- Creamy, but not soupy.
- Flakes should be visible but broken down.
Fix common problems:
- Too wet? Add 1–2 tbsp extra drained tuna or a spoon of plain breadcrumbs.
- Too dry? Stir in 1 tbsp olive oil or a splash of milk, then re-test.
- Too tangy? Stir in 1 tsp honey or extra mayo.
Tools that help:
- For ultra-smooth texture, use an immersion blender on low for a few seconds.
- For easy can opening and reduced metal shavings, use a quality manual can opener.
Seasoning note: Taste before adding salt. Some canned tuna is already salty.
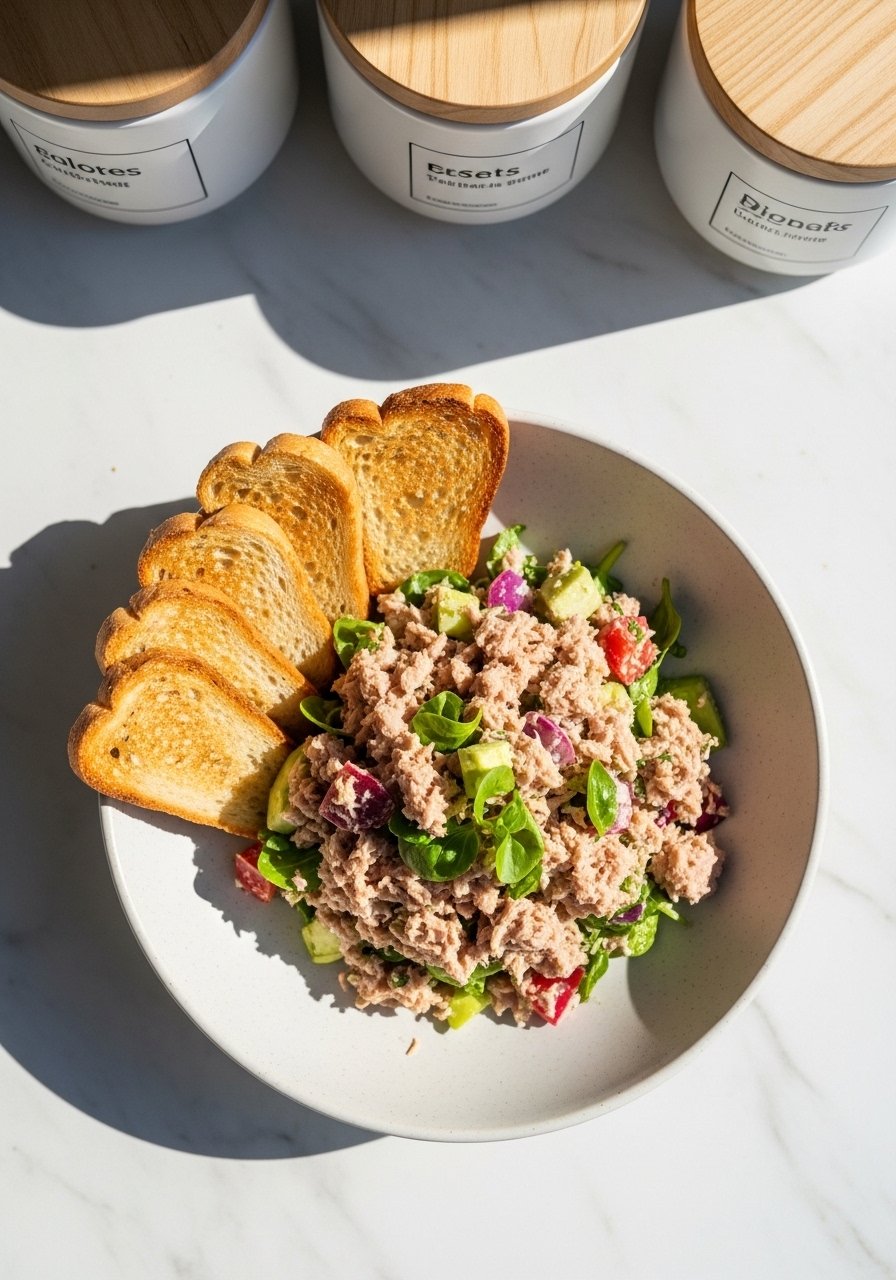
Finishing Touches and Storage for Meal Prep (make-ahead, 3-day fridge life)
Serve ideas:
- Spoon 3/4 cup onto greens for a filling salad.
- Make sandwiches with whole-grain bread and crisp lettuce.
- Spoon into mason jars for grab-and-go lunches.
Storage:
- Refrigerate in airtight glass containers up to 3 days.
- Portion into small glass jars for single-serve lunches and to keep toppings crisp.
Quick assembly tip:
- Keep crunchy toppings separate in small jars until serving. This keeps texture bright.
Which tool will speed up your routine? The mini food processor for texture and airtight containers for weekday lunches are the two small buys that shave minutes off prep.
This method gives you reliably creamy, flavorful tuna salad from scratch every time. Save this guide, pin it, and grab a mini food processor and a few airtight glass storage containers to make weekday lunches effortless. Which mix-in will you try first—capers, pickles, or extra herbs? Pin this for easy reference and share with a friend who loves quick meal prep.